July 2010
Well things have really moved forward this month. My aim was to do as much as I can so that the week that I have off in August I can concentrate on the body and electrics.
First task this month was to get the chassis rolling again so after collecting the bolt from George Engineering who re-machined a new thread on the end for me as when I undid the nuts the first time the thread came off with them. I then set about putting the forks back together and boy was that a right game and a half. After trawling though all the pictures I took (and am glad I did) I found the one that showed me how the front forks go back together. I was right in what I was doing but just could not get the top plate to go in as I had to compress the springs on the sides at the same time put the nuts on. All was done in the end though so once at the garage I could fit them back into the frame, easier said than done as now the forks had to use both of my hands as well as Pete’s to compress the main spring and place the pivot nut on without dropping all the bearings. Second attempt we did it.
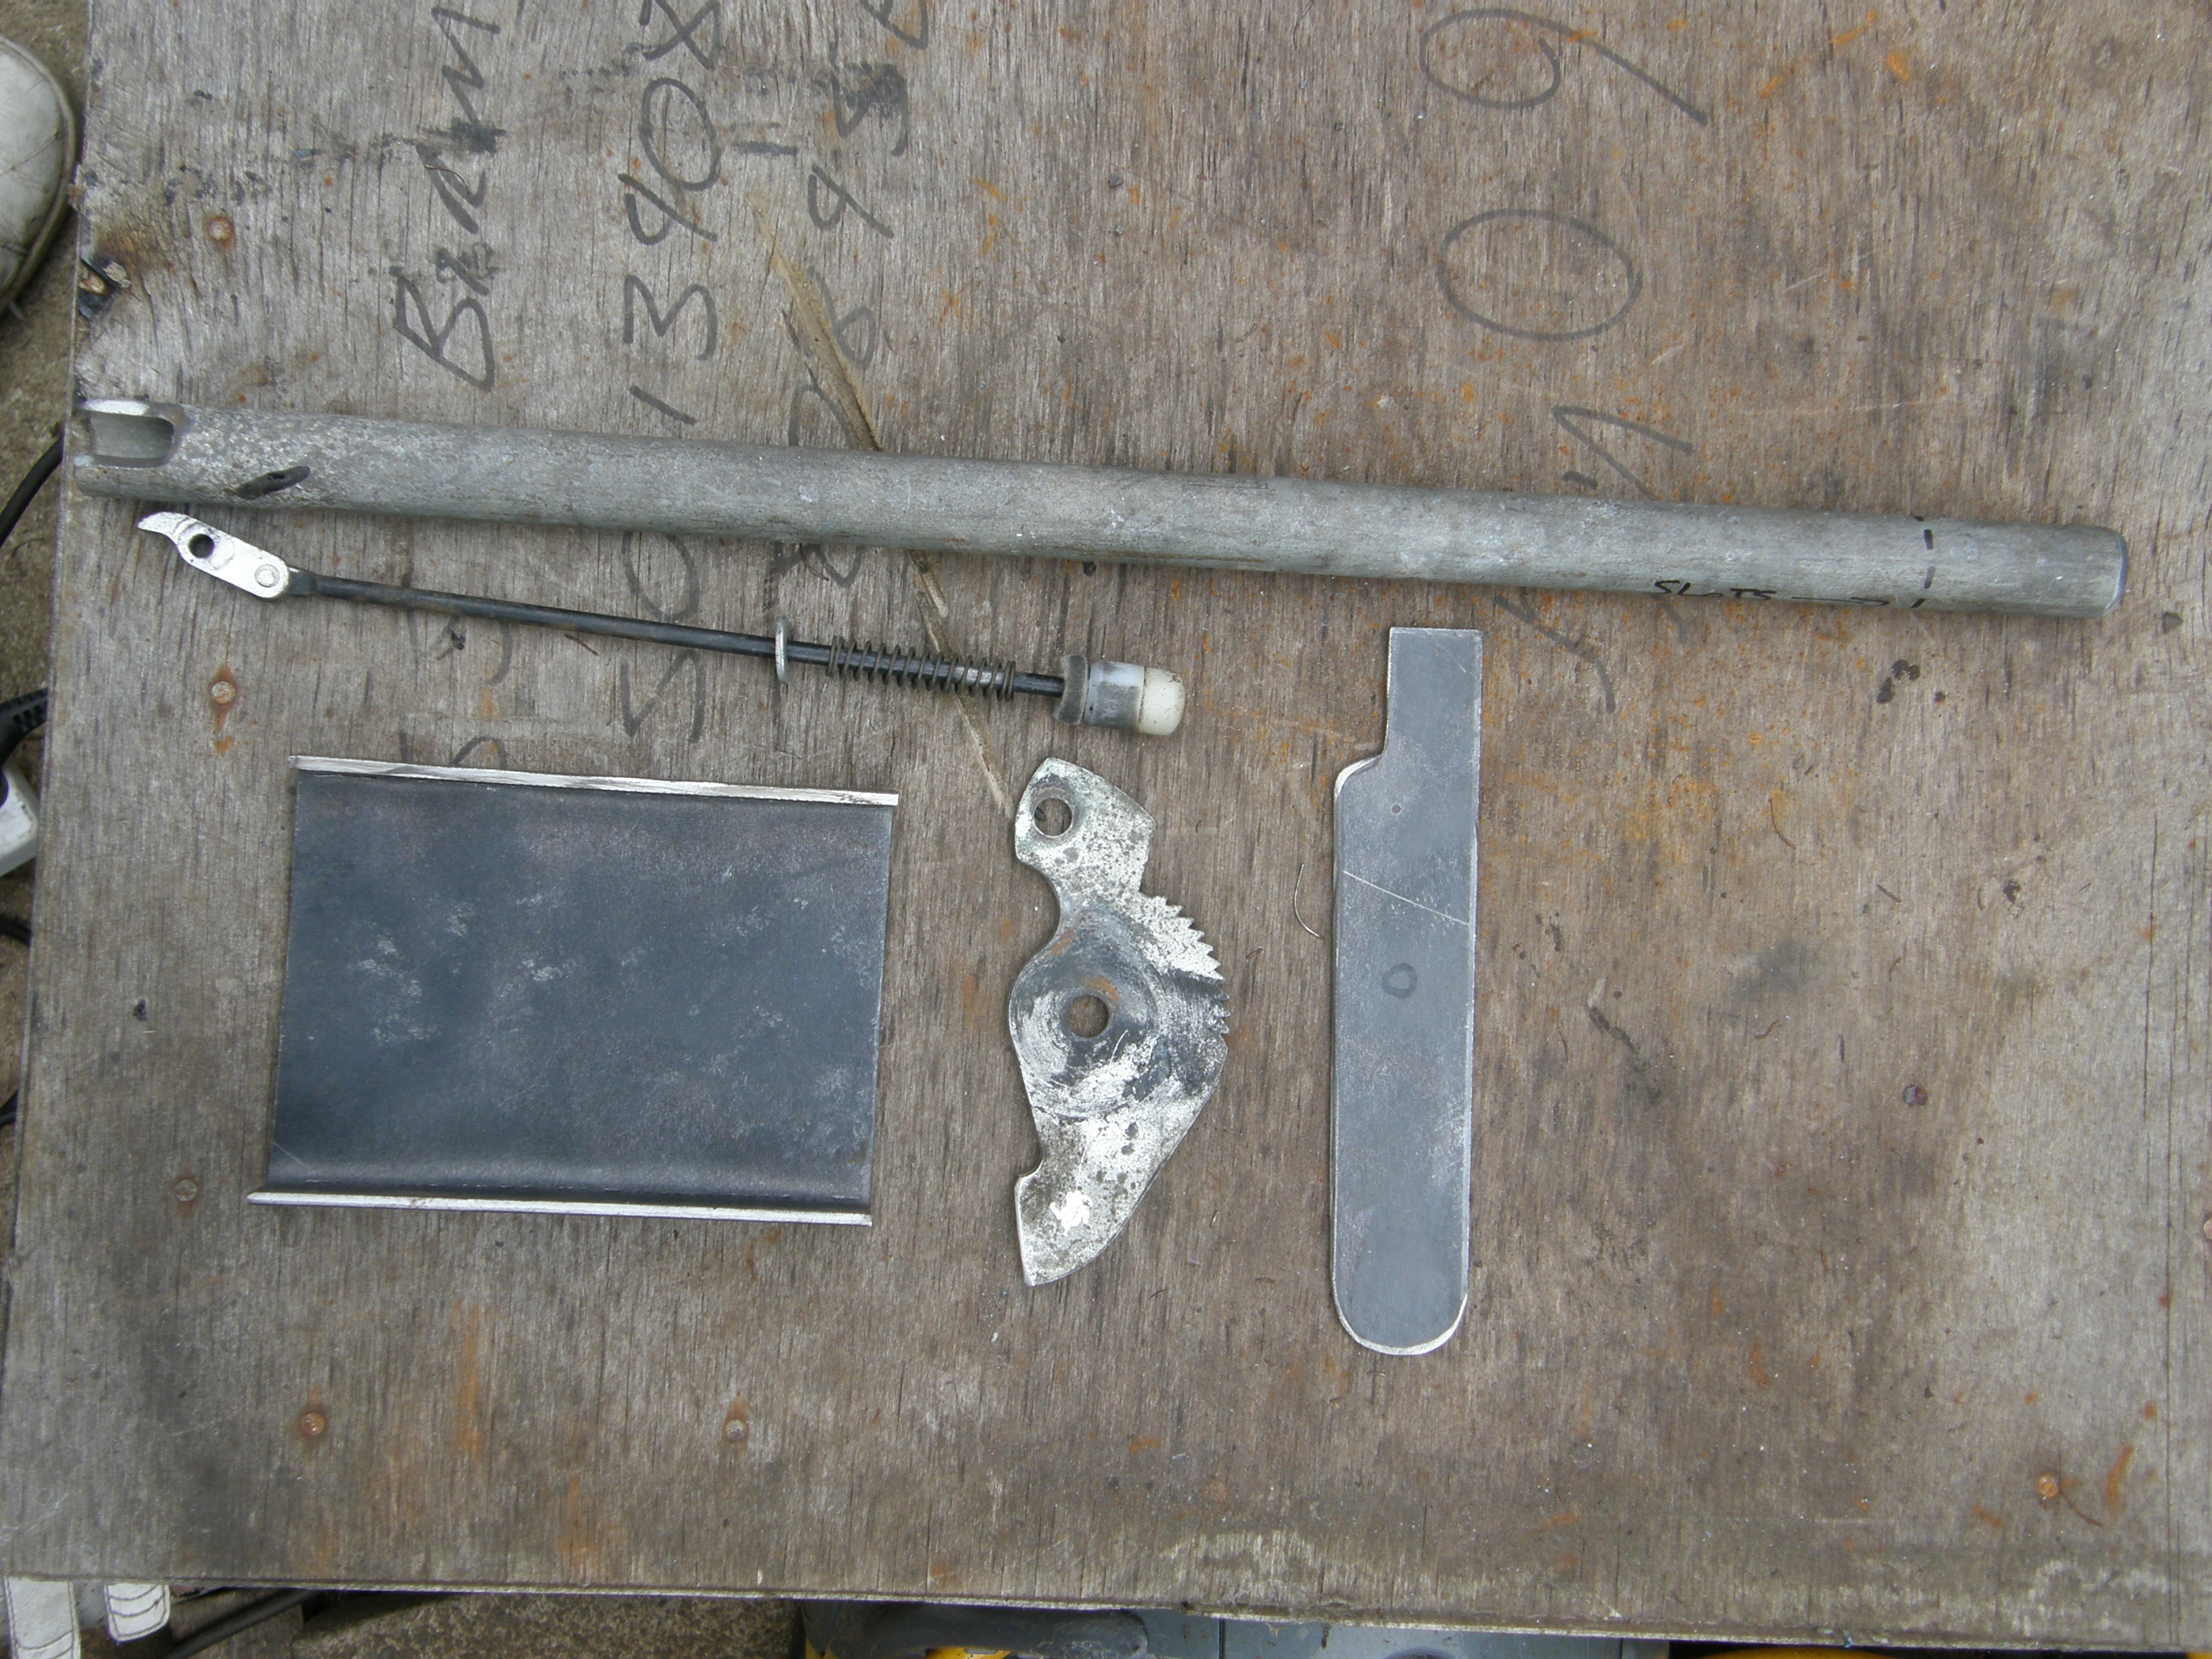
I have now made a new hand brake up for 35. I took an old Robin one and pulled it apart so all that I was left with was the tooth cam and the rack. Then using some 3mm plate cut and bent it to suite the chassis as this would be the mounting point for the hand brake with the rack being hardened I could not drill it so had to cut off the one lug as it was going the wrong way and weld a bolt in place. The other mounting hole was fine. Then taking some conduit (Just so happen that it was the same diameter as the Robin hand brake) I cut a length of 18” and welded a plate on the bottom to fit the pivot pin, brake rod and the locking tooth on to The button off the old hand brake fitted the tube so well it was a shame not to use it so taking some 6mm all thread I welded a section to the activating bar so that it was long enough. After some careful planning on where to place it on the chassis (Pete’s got short arms so near the seat) I got Pete to drill four holes and bolt the new unit in place.
I had to take the drums to Mercury to have the skimmed as they were binding to much as they were oval. They seem to fit a lot better now just need bedding in. The near side cannot be fitted completely yet as I need a new wheel stud for it just like the front wheel. I have James Holland that will do them for me as they are 7/16 unf machine studs (which for some reason you can’t get now).
One thing that has surprised me is the amount of bolts that I am going though I don’t remember undoing this many when we took him apart. I ran out of the ones given to me by West Brom fasteners but have found a cheap supplier not too far away so things are not too bad.
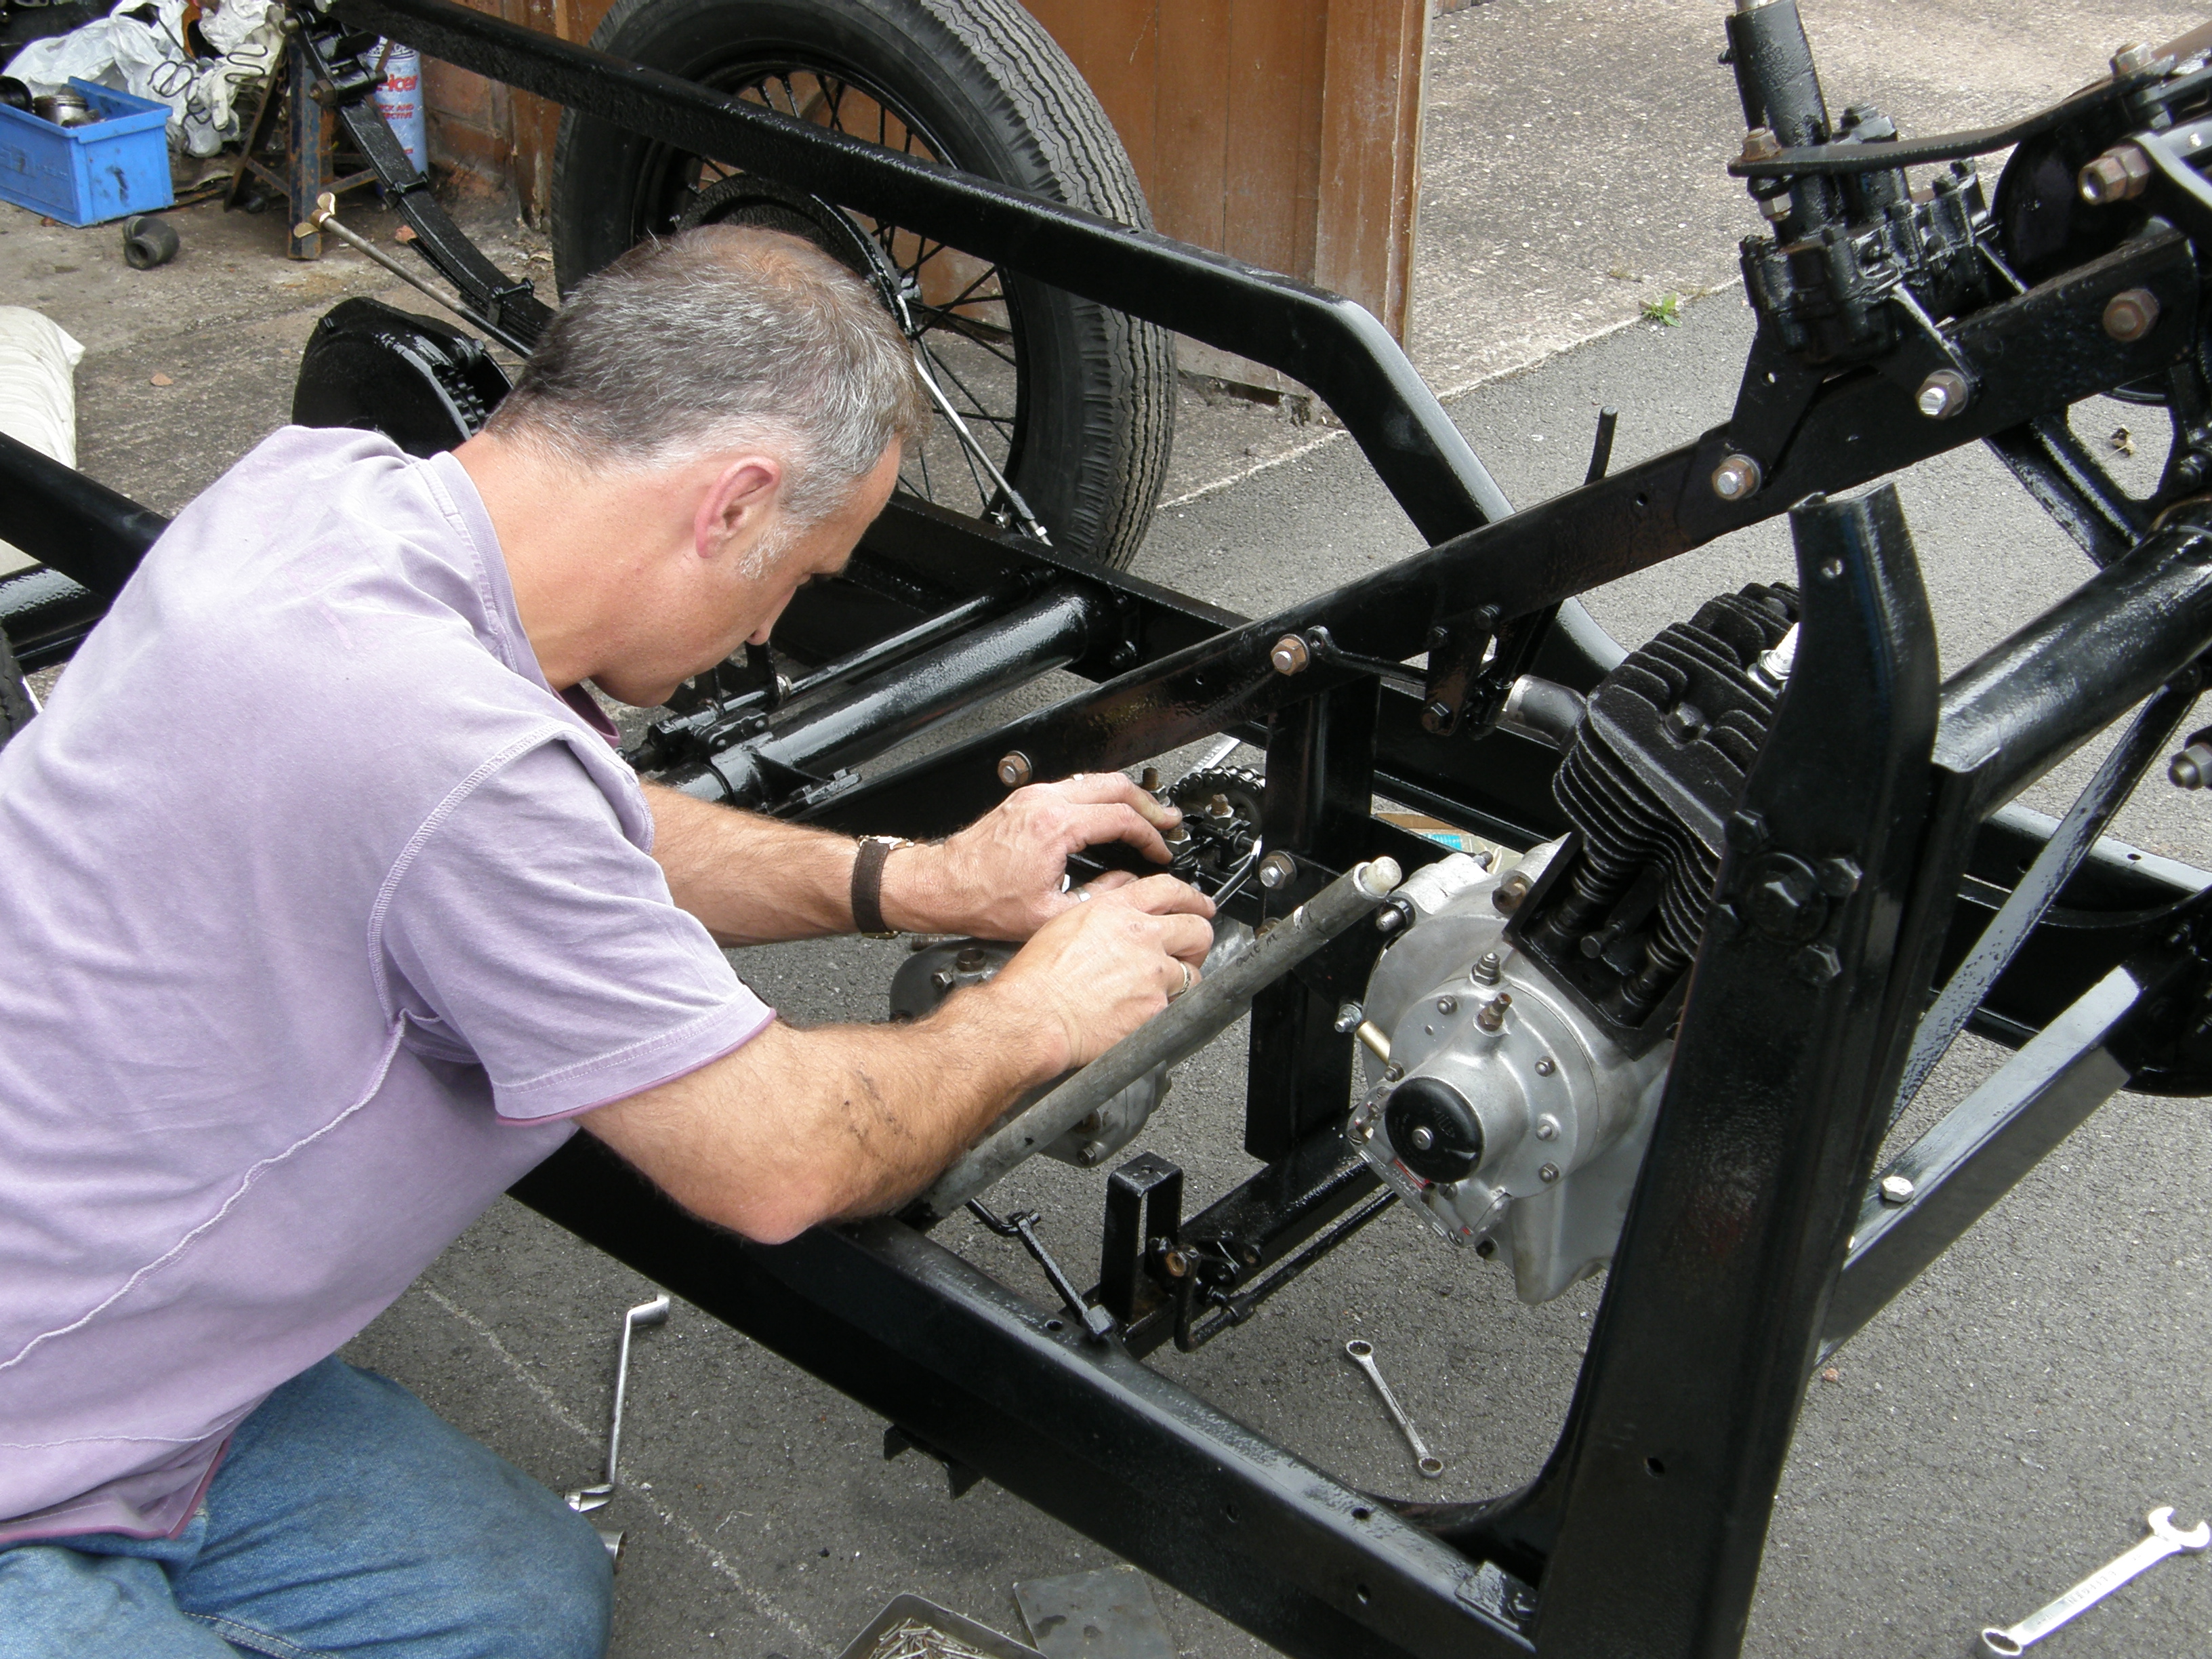
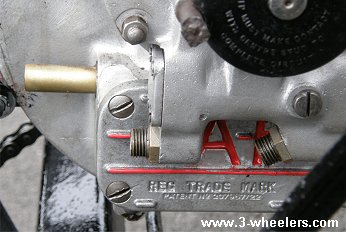
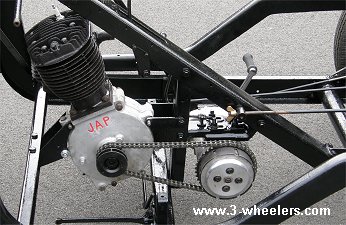
The engine and gear box are back in now with the new kick start and connecting chain in place and when you press down on the kick start you hear a nice compression sound come from the engine. The silver engine and black frame look really nice together. Now the only problem I have is that there are three pipes on the engine (two high pressure one low) but I don’t know what is what on them. Please take a look at the picture and if you know then please drop me a line.
Only 6 weeks left now so I have got (I hope) into top gear to really get a big push on to have him completed in time for the show, well am going back to the garage and then off to Momma Dee’s for some wonderful food so till then, Bye Bye.
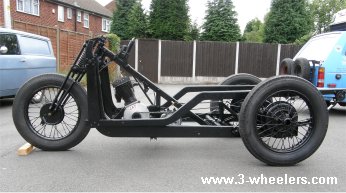
35 back on his wheels and rolling
Pete fitting the gearbox
Oil pipe connectors but which ones are which
Custom parts for hand brake
Engine and gearbox looking good
If you find any missing or broken links please let me know at geoff@35reliant.co.uk. And if you have any information on Reliant pre 1952 please get in touch at the above e-mail address as I would love to hear from you.
1935 Reliant
Jan 2024
Last Update